
Attention ! This method of installing an SSL certificate is not the easiest and fastest, for a simple and quick way to obtain an SSL certificate, follow this link
Adding a self-signed certificate
Depending on the type of certificate, the form fields will differ:
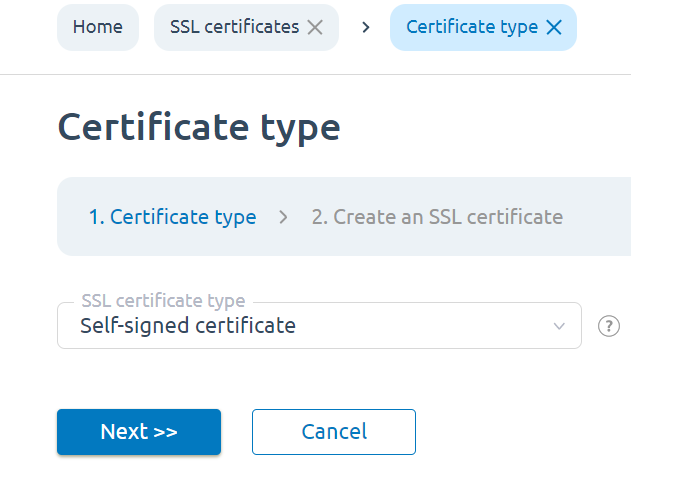
Step 1. Certificate type - select the type of SSL certificate from the list. The following options are possible:
- Self-signed - differs from signed in that the signer and the signed certificate are the same. They are self-signed without using root or any other certificates.
- Existing - Import a certificate you already have.
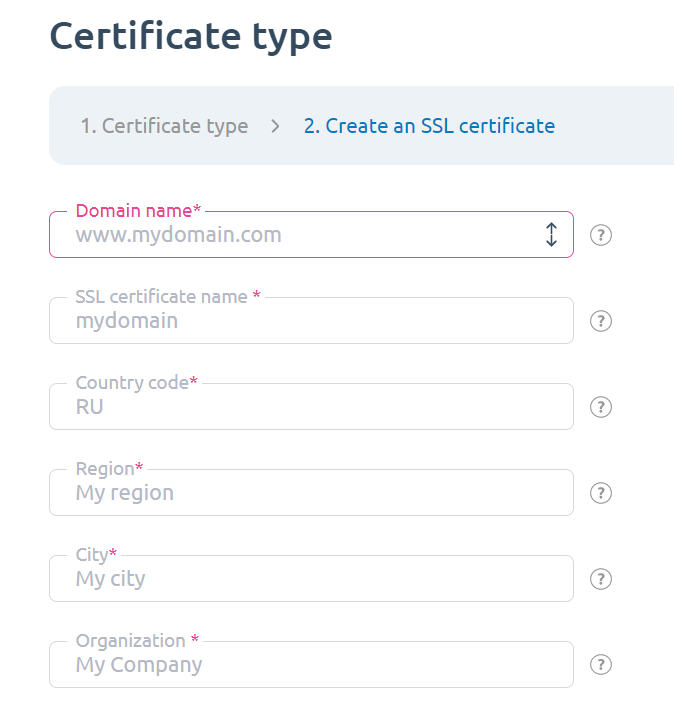
Step 2. Create a certificate
Self signed
- Username -
- Domain name -
- Certificate name - enter the name of the SSL certificate. The name can contain numbers, letters of the Latin alphabet, periods and signs "_" and "-".
- Country code - enter the two-character value corresponding to the country in which you live, for example (US, BE, RU).
- Region - specify the region where you live.
- City - enter the name of the city in which you live.
- Organization - enter the name of your organization.
- Department - enter the name of the division of your company.
- Email - the email address that will be specified in the certificate.
- Key length - select the key length for the certificate.
- Start date of the certificate;
- The expiration date of the certificate.
Existing
- Certificate type - select the existing value.
- Certificate name - the name of the certificate, which may contain letters of the Latin alphabet, periods, numbers, signs "_" and "-".
- Key - specify the contents of the key file corresponding to the imported certificate.
- Certificate - enter the contents of the SSL certificate file you have.
- Password - enter a password if you are going to add a certificate with an encrypted key.
- Certificate chain - specify the chain of certificates that signed this certificate. Required for Level 3 and higher certifications.
Certificate Information
To view information about a certificate, select it in the list and click the "Info" button. In the form that appears, the data specified when creating the SSL certificate will be shown, namely the country code, the name of the certificate, the city, the organization for which the certificate is issued, the department of the organization, the country and the e-mail box.

 english
 russian