
For a quick installation of an SSL certificate, we will use Let’s Encrypt.
Let’s Encrypt is a free, automated and open certification authority.
We will perform the installation in the ISP Manager environment.
At the end of the article, there is also a video instruction on how to perform the operations described below.
1. Select "SSL Certificates" in the "WWW" section. Select Let's Encrypt.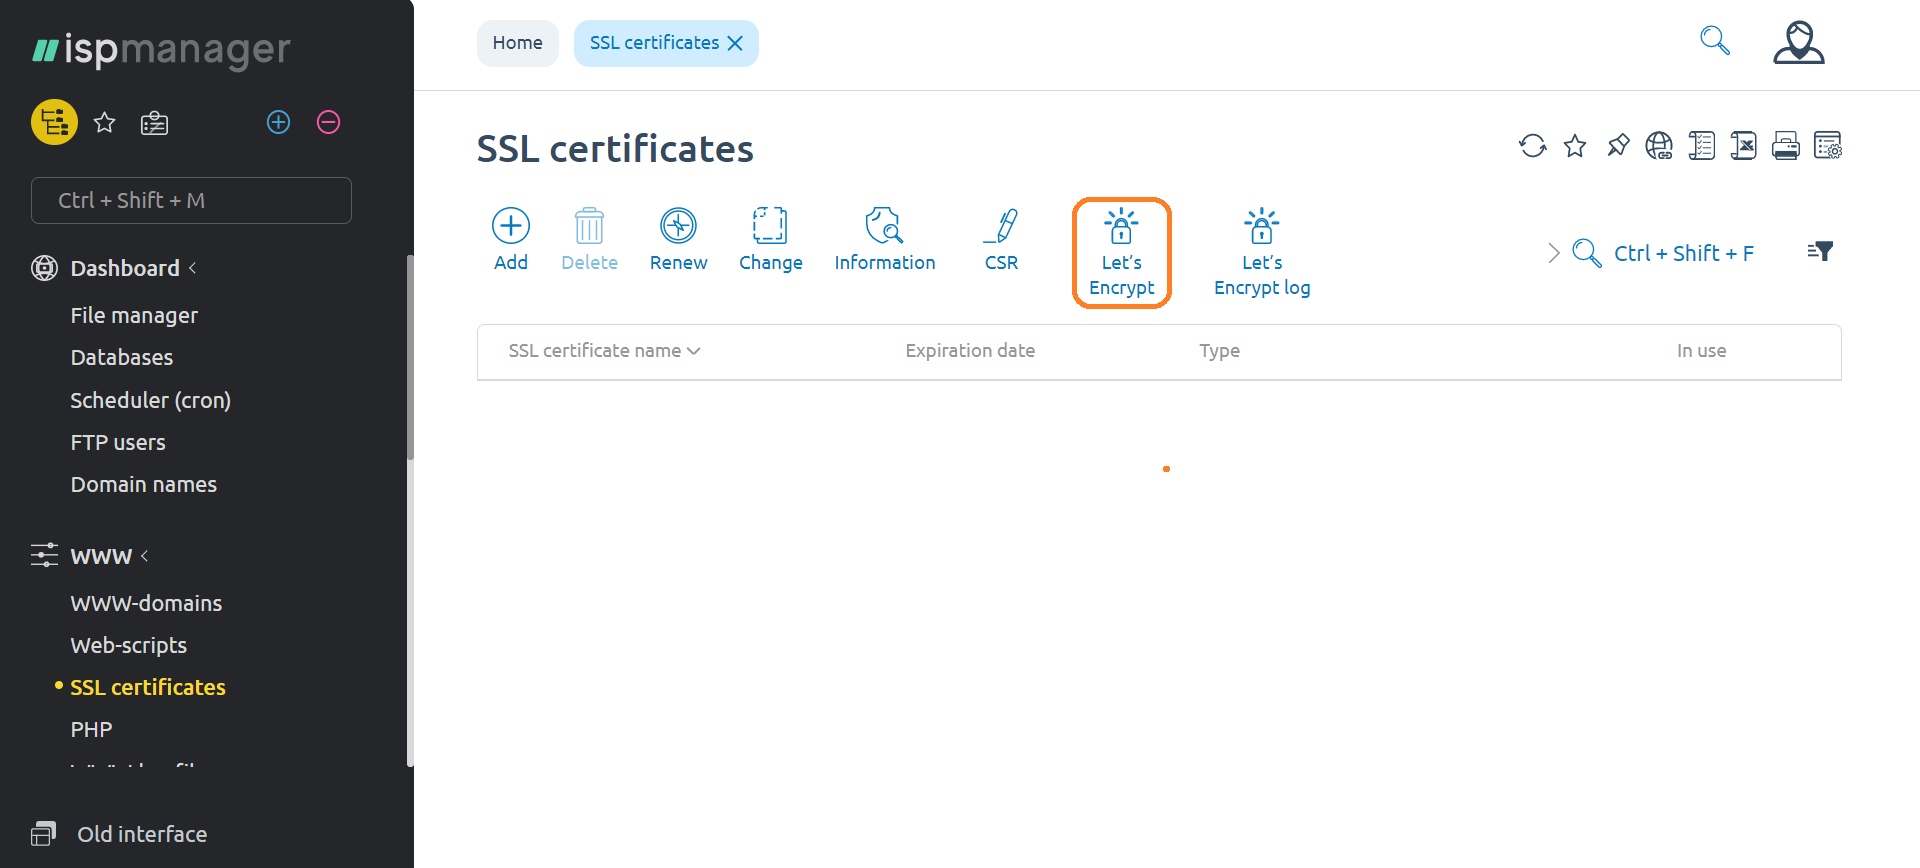
2. We are presented with a menu for creating an SSL certificate using Let's Encrypt. Select the domain for which you want to get an SSL certificate.

3. After some time (about 5 minutes), our SSL certificate will be installed on your site.
Let's Encrypt certificates are valid for 90 days. We recommend that you update them every 60 days.
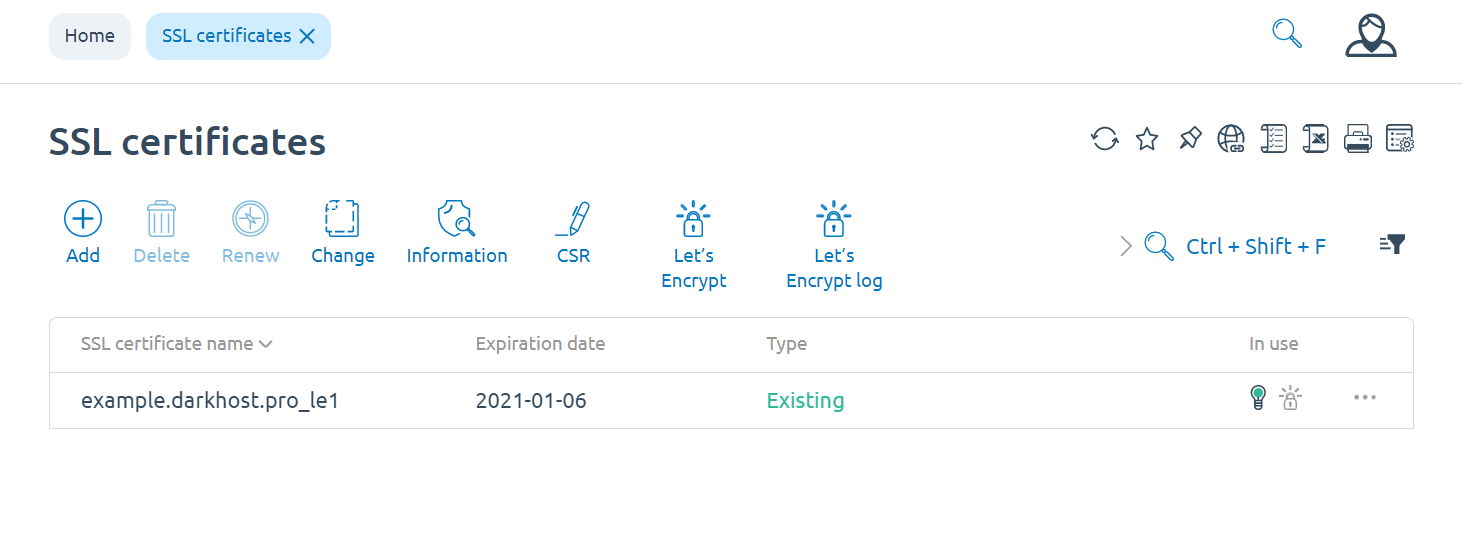
Everything is ready, now your site has a secure connection.
4. If you have several certificates, for example, you decided to create a spare certificate in order to replace the obsolete one with it later, then you will need to manually select the required SSL certificate for your domain.
This is done this way, go to the WWW-domains section, select the domain we need (the choice is made by clicking on the desired domain) and change it.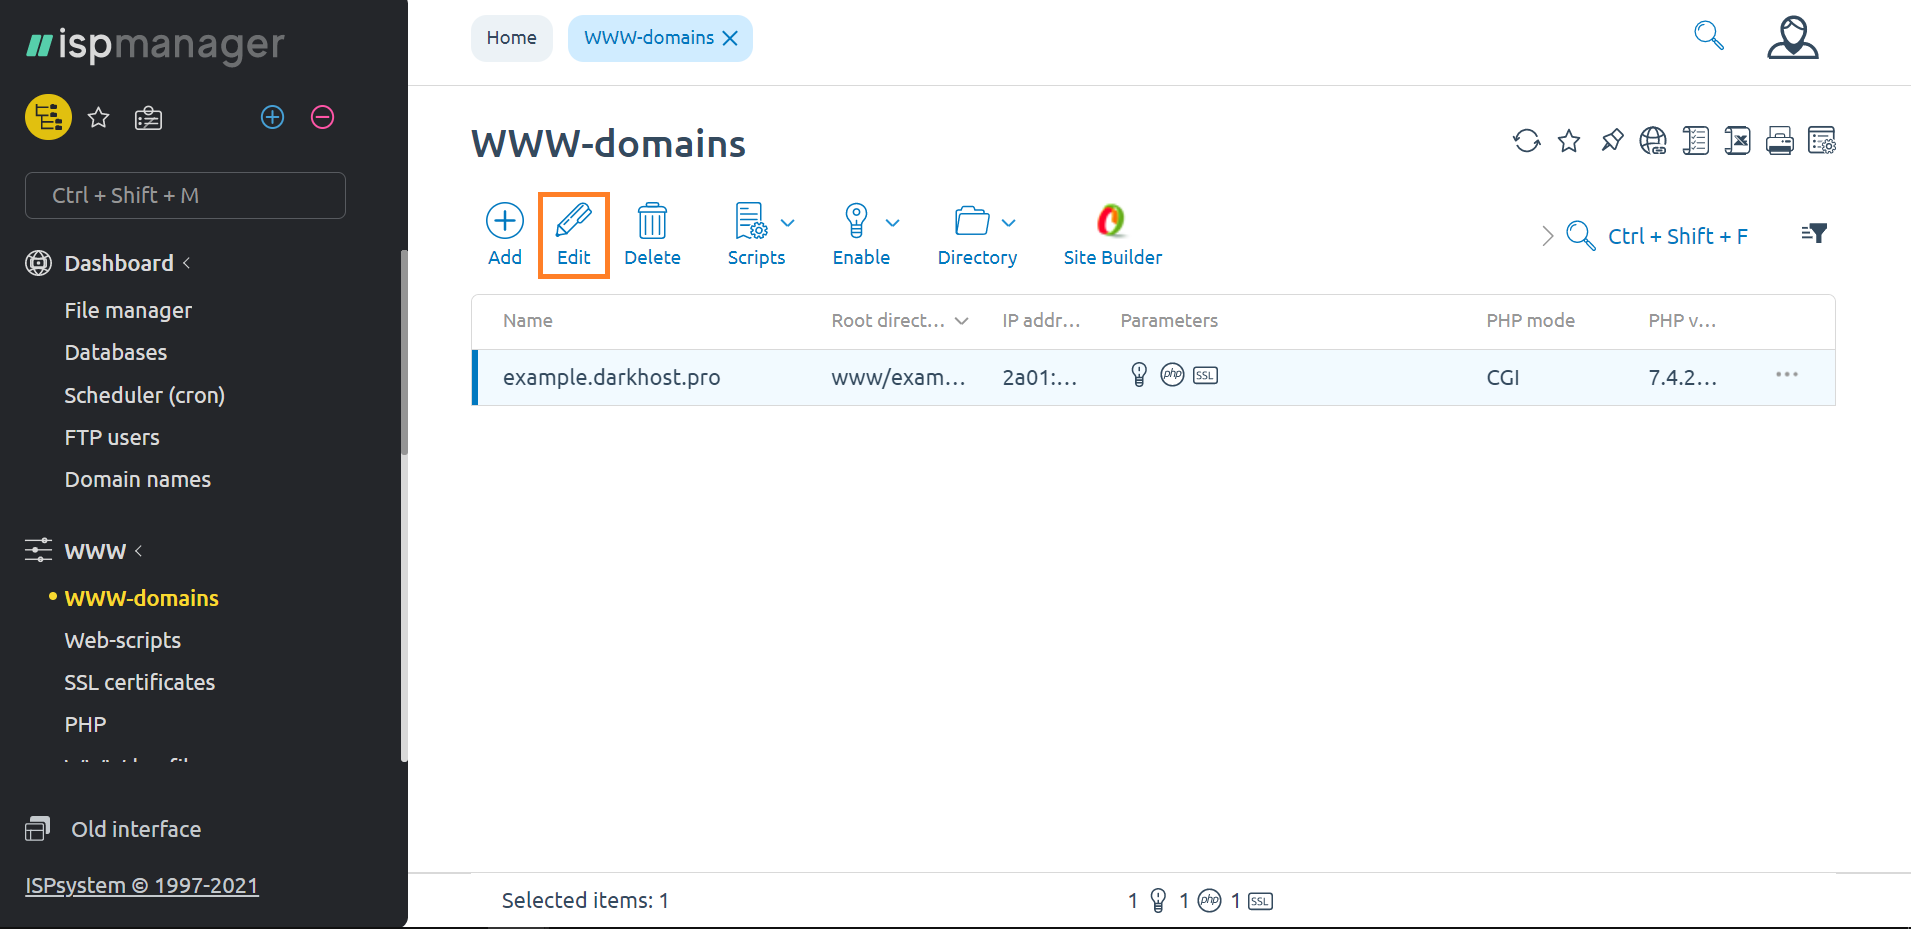
5. In the settings that will open, select the SSL certificate you need, which will be used by your web resource. After selecting, do not forget to confirm the changes with the "OK" button

 english
 russian